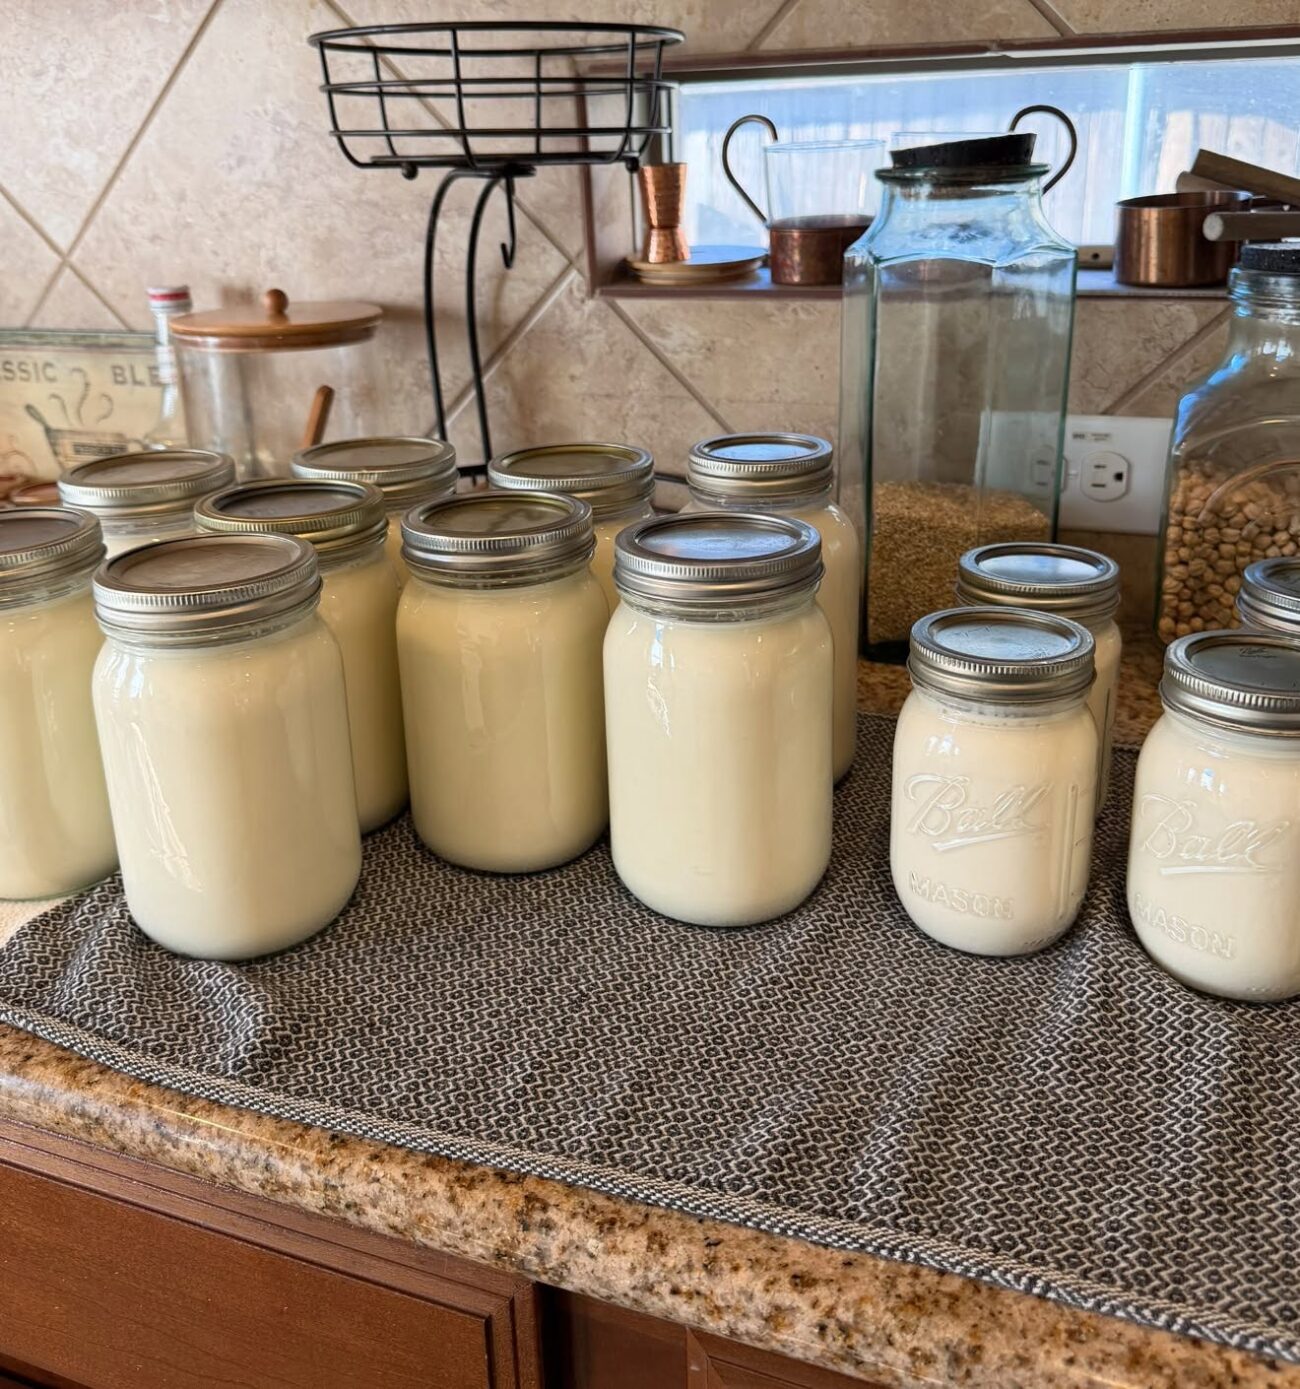
-
Prep Time: 20 minutes
-
Cook/Processing Time: 20 to 25 minutes
-
Vent/Cooldown Time: 45 minutes
-
Total Time: 1 hour 30 minutes
-
Yield: 4 Pint Jars (or 2 Quart Jars)
-
Difficulty & Intensity: Medium (Requires precise pressure regulator management)
Equipment & Supplies
To execute this recipe safely and effectively, gather the following equipment:
-
Pressure Canner: Dial-gauge or weighted-gauge pressure canner (do not use electrical pressure cookers/Instant Pots for canning).
-
Canning Jars: 4 pint (16 oz) or 2 quart (32 oz) Mason jars with fresh, unblemished sealing flat lids and screw bands.
-
Jar Lifter & Funnel: Heat-resistant canning funnel and jar tongs.
-
Bubble Remover Tool: Non-metallic spatula or chopstick.
-
Clean Towels & Vinegar: Lint-free cloth dipped in white vinegar for wiping rims.
Ingredients
-
Whole Milk: 2 Quarts (8 cups) fresh whole cow milk or goat milk (pasteurized or fresh raw milk skimmed of excess heavy cream).
-
Water: Filtered water for the pressure canner reservoir.
Tip on Milk Selection: Whole milk yields the richest result. Excessive heavy cream can separate or scorch under intense heat; using whole or 2% milk produces a smoother consistency.
Process Overview: Time & Heat Intensities
| Phase | Duration | Heat / Intensity Level | Objective |
| Sanitization | 10 mins | Medium-High ($212^\circ\text{F} / 100^\circ\text{C}$) | Sterilize jars and heat milk to $180^\circ\text{F}$. |
| Jar Loading | 5 mins | N/A | Fill jars leaving 1-inch headspace. |
| Venting Canner | 10 mins | High | Exhaust air from canner until steady steam streams out. |
| Pressure Processing | 20 mins (Pints) / 25 mins (Quarts) | Medium-High ($11\text{ to }15\text{ PSI}$) | Maintain constant pressure without pressure spikes. |
| Natural Depressurization | 45 mins | Off (Zero Intensity) | Allow canner to cool naturally to 0 PSI. |
Step-by-Step Instructions
Step 1: Equipment Preparation
-
Inspect all glass jars for chips or cracks. Wash jars, lids, and bands in hot, soapy water and rinse thoroughly.
-
Fill your pressure canner with 2 to 3 inches of water (refer to your specific canner manual) and add 1 tablespoon of white vinegar to prevent mineral buildup on your jars.
-
Place the canner on the stove over Medium heat to warm the water to approximately $140^\circ\text{F} – 150^\circ\text{F}$.
Step 2: Heating the Milk
-
Pour the milk into a large, stainless steel heavy-bottomed stockpot.
-
Place the pot over Medium-Low intensity heat, stirring frequently to prevent scorching on the bottom.
-
Bring the milk to a scalding temperature of $180^\circ\text{F}$ ($82^\circ\text{C}$). Do not boil vigorously; scalding prevents jar breakage from thermal shock when transferred into warm jars.
Step 3: Jar Filling & Headspace Adjustment
-
Using your jar lifter, remove warm jars from your preparation area.
-
Insert a canning funnel and ladle hot milk into each jar, leaving 1 inch of headspace at the top.
-
Use a non-metallic bubble remover tool to gently dislodge any trapped air bubbles around the inside perimeter.
-
Dip a clean towel into white vinegar and thoroughly wipe the rim of each jar to remove any fatty residue that could prevent an airtight seal.
-
Center a flat lid on each jar and apply the screw band until fingertip tight (do not over-tighten).
Step 4: Loading & Venting the Canner
-
Lower the filled jars into the warm pressure canner using the jar lifter, keeping them upright.
-
Fasten the canner lid securely according to the manufacturer’s lock mechanism. Leave the vent pipe open (weight off).
-
Turn the stove heat to High intensity. Allow steam to vent continuously from the vent pipe for 10 full minutes to purge all air from the vessel.
Step 5: Pressure Processing
-
Place the weighted gauge over the vent pipe (or watch your dial gauge).
-
Target Pressure Settings (adjusted for elevation):
-
0 – 1,000 ft Elevation: 10 PSI (weighted gauge) or 11 PSI (dial gauge).
-
Above 1,000 ft Elevation: Increase to 15 PSI (weighted gauge) or 12–14 PSI (dial gauge).
-
-
Once full processing pressure is achieved, adjust the burner to Medium-High / Medium intensity to maintain a steady pressure level.
-
Process pint jars for 20 minutes or quart jars for 25 minutes.
Step 6: Cooldown & Storage Procedure
-
After the processing timer expires, turn off the heat source entirely.
-
Do not disturb the canner. Allow it to cool and depressurize naturally until the pressure gauge reaches absolute zero (0 PSI) and the safety lock drops.
-
Carefully remove the lid pointing away from your face.
-
Lift the jars out with the jar lifter and place them on a dry towel in a draft-free location.
-
Allow the jars to sit undisturbed for 12 to 24 hours. You will hear distinct popping sounds as the vacuum seals engage.
-
Check seals after 24 hours (lids should not flex up or down when pressed). Remove screw bands, wipe jars clean, label with date, and store in a cool, dark, dry place.
Sensory Expectations & Culinary Characteristics
-
Color: Home-canned milk turns a light golden-tan or caramel color due to the Maillard reaction (caramelization of natural milk sugars under high pressure and heat).
-
Texture & Taste: The flavor profile is sweeter and cooked, similar to commercial evaporated milk. It is rich and creamy, ideal for cooking and hot drinks.
-
Separation: Cream may rise to the top over time. Simply shake the jar well before opening and using.
Nutritional Information
Nutritional profile calculated per 1 Cup (8 oz / 245g) serving of home-canned whole milk:
| Nutrient | Amount per Serving | % Daily Value |
| Calories | 149 kcal | — |
| Total Fat | 8g | 10% |
| Saturated Fat | 4.6g | 23% |
| Trans Fat | 0g | — |
| Cholesterol | 24mg | 8% |
| Sodium | 105mg | 5% |
| Total Carbohydrates | 12g | 4% |
| Dietary Fiber | 0g | 0% |
| Sugars (Lactose) | 12g | — |
| Protein | 8g | 16% |
| Calcium | 276mg | 20% |
| Vitamin D | 2.5mcg | 13% |
| Potassium | 322mg | 7% |
