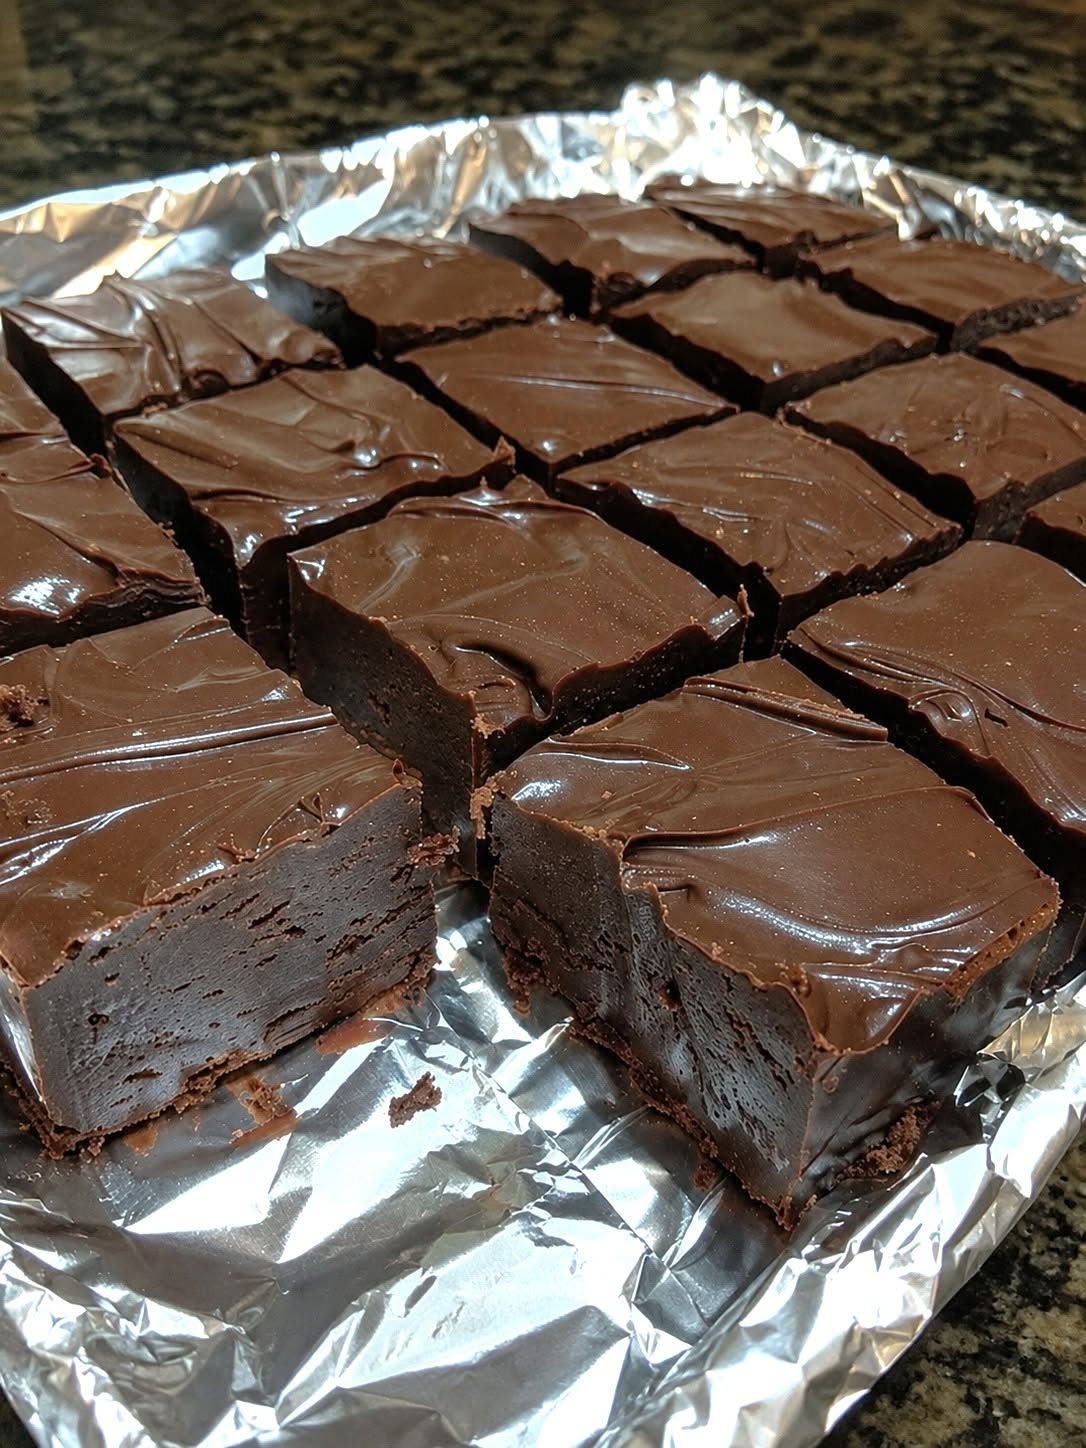
-
Prep Time: 15 minutes
-
Cook/Melt Time: 10 minutes
-
Chilling/Setting Time: 2 hours
-
Total Time: 2 hours 25 minutes
-
Difficulty Intensity Level: Low to Medium (Easy Beginner Friendly)
-
Yield: 36 squares (8×8 inch pan)
🛒 Equipment Needed
-
8×8-inch Square Baking Pan
-
Parchment Paper (for easy lifting)
-
Medium Saucepan or Microwave-Safe Glass Bowl
-
Rubber Spatula
-
Measuring Cups & Spoons
-
Offset Spatula (optional, for smooth layering)
🍫 Ingredients List
Layer 1: Dark Chocolate Fudge Base
-
2 cups (12 oz / 340g) Semi-sweet or dark chocolate chips (60% cocoa recommended for balanced sweetness)
-
1 can (14 oz / 396g) Sweetened condensed milk (divided: 3/4 cup for chocolate layer, remaining for peanut butter layer)
-
2 tbsp (28g) Unsalted butter, cut into small cubes
-
1 tsp Pure vanilla extract
-
1/4 tsp Fine sea salt
Layer 2: Creamy Peanut Butter Top
-
1 cup (250g) Smooth/creamy peanut butter (standard commercially processed works best; avoid natural oil-separating varieties for ideal setting)
-
Remaining Sweetened Condensed Milk (approx. 3/4 cup)
-
1/2 cup (60g) Powdered (confectioners’) sugar, sifted
-
2 tbsp (28g) Unsalted butter, softened
-
1/2 tsp Pure vanilla extract
Optional Toppings & Garnishes
-
Flaky sea salt (such as Maldon) for sprinkling on top
-
2 tbsp crushed roasted peanuts for texture
👩🍳 Step-by-Step Instructions
Step 1: Prep Your Pan
-
Line an 8×8-inch baking pan with parchment paper, leaving an overhang on two opposite sides. This “sling” will make it effortless to lift the hardened fudge out of the pan later.
-
Lightly grease the parchment paper with butter or non-stick cooking spray. Set aside.
Step 2: Make the Chocolate Layer
-
In a medium heavy-bottomed saucepan or heat-safe bowl set over a double boiler, combine the chocolate chips, 3/4 cup of sweetened condensed milk, 2 tablespoons of butter, and 1/4 tsp sea salt.
-
Heat over low intensity, stirring constantly with a heat-resistant rubber spatula until the chocolate chips are roughly 90% melted.
-
Remove from heat immediately and stir in 1 tsp vanilla extract. Continue stirring until the mixture becomes completely smooth, glossy, and thick.
-
Pour the chocolate mixture into the prepared 8×8-inch pan. Spread evenly using your spatula or offset spatula.
-
Tap the pan against the counter 2-3 times to release trapped air bubbles. Place the pan in the refrigerator for 10 minutes to allow the surface to firm up slightly while you prepare the peanut butter layer.
Step 3: Make the Peanut Butter Layer
-
In a separate saucepan or glass bowl over low heat, combine the creamy peanut butter, the remaining sweetened condensed milk, and 2 tablespoons of butter.
-
Warm the mixture over low heat, stirring continuously until the butter is melted and all ingredients are fully blended into a smooth, silky consistency (about 3–4 minutes).
-
Remove from heat and stir in the sifted powdered sugar and 1/2 tsp vanilla extract. Stir vigorously until completely incorporated. The mixture will thicken quickly.
Step 4: Layer and Swirl (Optional)
-
Remove the chilled pan from the refrigerator.
-
Carefully spoon or pour the peanut butter fudge mixture over the set chocolate layer.
-
Smooth out the surface evenly with an offset spatula.
-
(Optional Swirl Technique): If you prefer a marbled aesthetic instead of distinct layers, pour both warm mixtures into the pan side-by-side or dollop them alternately, then drag a butter knife through the batter in a figure-eight pattern.
-
Finish by sprinkling flaky sea salt or chopped roasted peanuts evenly across the top.
Step 5: Chill and Set
-
Place the fudge in the refrigerator uncovered for at least 2 hours (or up to overnight) until completely firm and set through to the center.
Step 6: Slice and Serve
-
Use the parchment paper handles to lift the block of fudge out of the pan and onto a cutting board.
-
Run a sharp chef’s knife under hot tap water for 10 seconds, then wipe it clean and dry with a paper towel.
-
Slice the fudge block into a 6×6 grid to make 36 bite-sized squares. Wiping the blade warm and dry between cuts will ensure clean, precise edges!
🧊 Storage Instructions
-
Room Temperature: Store in an airtight container in a cool, dry place for up to 1 week.
-
Refrigerator: Store in an airtight container layered with parchment paper for up to 3 weeks for a firmer, colder bite.
-
Freezer: Wrap individual pieces tightly in plastic wrap and place in a freezer bag. Freeze for up to 3 months. Thaw in the refrigerator overnight before serving.
📊 Nutritional Information
Nutritional values are calculated estimates per serving (1 square / 1/36th of total batch).
| Nutrient | Amount Per Serving |
| Calories | 135 kcal |
| Total Fat | 8 g |
| Saturated Fat | 4 g |
| Trans Fat | 0 g |
| Cholesterol | 6 mg |
| Sodium | 55 mg |
| Total Carbohydrates | 14 g |
| Dietary Fiber | 1 g |
| Total Sugars | 12 g |
| Protein | 3 g |
| Calcium | 35 mg |
| Iron | 0.8 mg |
