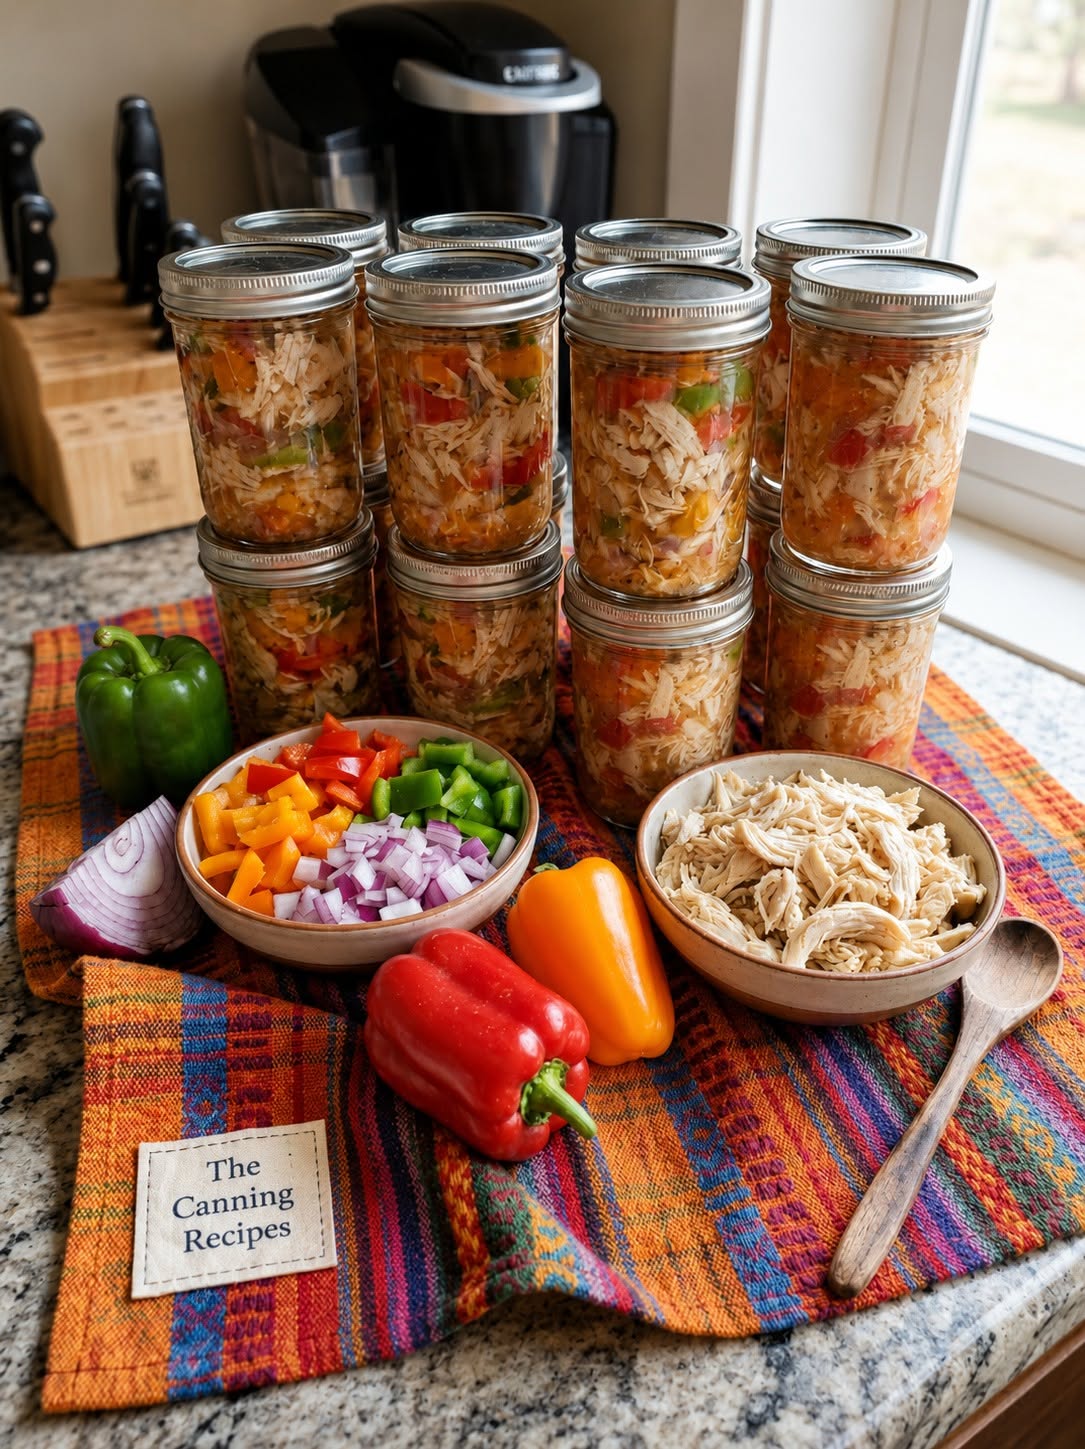
| Category | Details |
| Preparation Time | 30 Minutes |
| Pantry / Canning Processing Time | 75 Minutes (Pints) or 90 Minutes (Quarts) |
| Canner Warm-Up & Venting Time | 20 Minutes |
| Natural Depressurization Time | 30–45 Minutes |
| Total Recipe Duration | ~2 Hours 45 Minutes |
| Skill & Intensity Level | Intermediate (Requires basic pressure canning safety knowledge) |
| Yield | 4 Pint Jars (or 2 Quart Jars) — approx. 4 servings per pint |
Equipment Required
-
Pressure Canner (Dial-gauge or weighted-gauge)
-
4 Pint Mason Jars (or 2 Quart Jars) with brand-new canning lids and bands
-
Jar lifter, canning funnel, and non-metallic bubble remover tool
-
Cutting board and sharp chef’s knife
-
Large mixing bowl
-
Measuring spoons and liquid measuring cup
Ingredients
Primary Jar Contents
-
Chicken Breast or Thighs: 3 lbs (1.35 kg) boneless, skinless, trimmed of fat and cut into 1/2-inch strips or bite-sized cubes.
-
Bell Peppers: 3 large (1 red, 1 green, 1 yellow/orange), sliced into thin strips.
-
Yellow or Red Onions: 2 medium, halved and sliced into thin strips.
-
Fresh Garlic: 4 cloves, minced.
-
Lime Juice: 2 tablespoons bottled lime juice (helps balance acidity and enhances flavor).
-
Canning Salt: 1/2 teaspoon per pint jar (optional, for flavor retention).
-
Liquid Base: Boiling water, low-sodium chicken broth, or unsalted tomato juice (approx. 2 to 3 cups total).
Homemade Fajita Spice Blend
-
1.5 tablespoons chili powder
-
1 tablespoon ground cumin
-
1 teaspoon smoked paprika
-
1 teaspoon onion powder
-
1 teaspoon garlic powder
-
1/2 teaspoon dried oregano
-
1/2 teaspoon crushed red pepper flakes (adjust for desired heat level)
-
1/2 teaspoon freshly cracked black pepper
Step-by-Step Canning Instructions
Step 1: Prep the Equipment & Jars
-
Wash your mason jars, lids, and bands in hot, soapy water and rinse thoroughly. Keep the jars warm in hot water or a heated dishwasher until ready to fill to prevent thermal shock breakage.
-
Fill your pressure canner with 2 to 3 inches of water (or per your manufacturer’s specific instructions) and turn the burner to low heat to warm up the water.
Step 2: Prepare Meat, Vegetables & Spice Mix
-
In a small bowl, combine all the dry spices to create your custom fajita seasoning.
-
Slice the chicken breasts, bell peppers, and onions into uniform strips.
-
In a large bowl, toss the raw chicken strips, bell peppers, onions, and minced garlic with the spice mix and 2 tablespoons of lime juice until evenly coated.
Step 3: Raw-Pack the Jars
-
Add 1/2 teaspoon of canning salt to the bottom of each pint jar (if using).
-
Tightly pack the seasoned chicken and vegetable mixture into each warm jar, layering meat and peppers for an even balance. Pack firmly but without crushing the vegetables flat.
-
Leave 1 inch of headspace at the top of the jar.
-
Ladle hot boiling water or hot chicken broth into each jar, maintaining the 1 inch headspace.
Step 4: Debubble, Seal & Load
-
Run a non-metallic bubble remover or spatula around the inside walls of each jar to release trapped air bubbles. Re-check the headspace and add a splash of hot liquid if needed.
-
Wipe the rim of each jar with a clean paper towel dipped in white vinegar to strip away any fat or grease residue that could prevent a secure seal.
-
Center a flat canning lid on each jar and screw the metal band on until fingertip-tight.
-
Using a jar lifter, place the filled jars upright onto the rack inside the pre-heated pressure canner.
Step 5: Process in the Pressure Canner
-
Lock the pressure canner lid in place, leaving the vent pipe wide open.
-
Turn the heat to high and allow a steady stream of steam to vent continuously from the pipe for 10 full minutes to evacuate trapped air.
-
Place the weighted gauge over the vent pipe (or watch the dial gauge). Bring the canner to the correct pressure for your altitude:
-
Weighted Gauge: 10 lbs pressure (0–1,000 ft altitude) or 15 lbs pressure (above 1,000 ft altitude).
-
Dial Gauge: 11 lbs pressure (0–2,000 ft altitude; adjust higher for elevated altitudes per gauge guidelines).
-
-
Start timing once full, stable pressure is reached:
-
Pint Jars: Process for 75 minutes.
-
Quart Jars: Process for 90 minutes.
-
Step 6: Depressurize & Cool
-
Once the processing time ends, turn off the heat source completely. Allow the pressure canner to cool down and depressurize naturally. Do not force-cool the canner by running cold water over it or pulling the weight early.
-
Once the gauge reads zero and the vent pin drops, carefully remove the weight and wait 5 minutes before unlocking the lid. Open the lid away from your face to avoid hot steam.
-
Lift jars out with your jar lifter and transfer them straight to a towel-lined countertop. Leave undisturbed for 12 to 24 hours. You should hear the satisfying ping as the lids vacuum-seal shut.
-
After 12 hours, test the seals by pressing down in the center of each lid (it should not flex or pop). Remove the screw bands, gently wipe the jars clean, label with the contents and date, and store in a cool, dark pantry.
Serving & Reheating Suggestions
To serve, pop open a jar, drain off excess liquid (or reserve it to flavor rice or quinoa), and pour the contents into a hot skillet over medium-high heat for 3 to 5 minutes until heated through and lightly seared.
-
Fajita Tacos & Burritos: Wrap in warm flour or corn tortillas with avocado, sour cream, and fresh cilantro.
-
Fajita Bowls: Serve over cilantro-lime brown rice with black beans and fresh salsa.
-
Quick Nachos: Spread over tortilla chips, top with shredded Monterey Jack cheese, and bake until melted.
Nutritional Information
The following nutrition facts are estimated per 1 pint jar yield (approx. 2 serving portions per pint).
| Nutrient | Amount Per Serving (1/2 Pint) |
| Calories | 220 kcal |
| Total Fat | 4.5 g |
| Saturated Fat | 1.0 g |
| Trans Fat | 0 g |
| Cholesterol | 75 mg |
| Sodium | 480 mg (less if salt is omitted) |
| Total Carbohydrates | 9 g |
| Dietary Fiber | 2.5 g |
| Sugars | 4 g |
| Protein | 34 g |
| Vitamin C | 85% Daily Value |
| Calcium | 4% Daily Value |
| Iron | 12% Daily Value |
