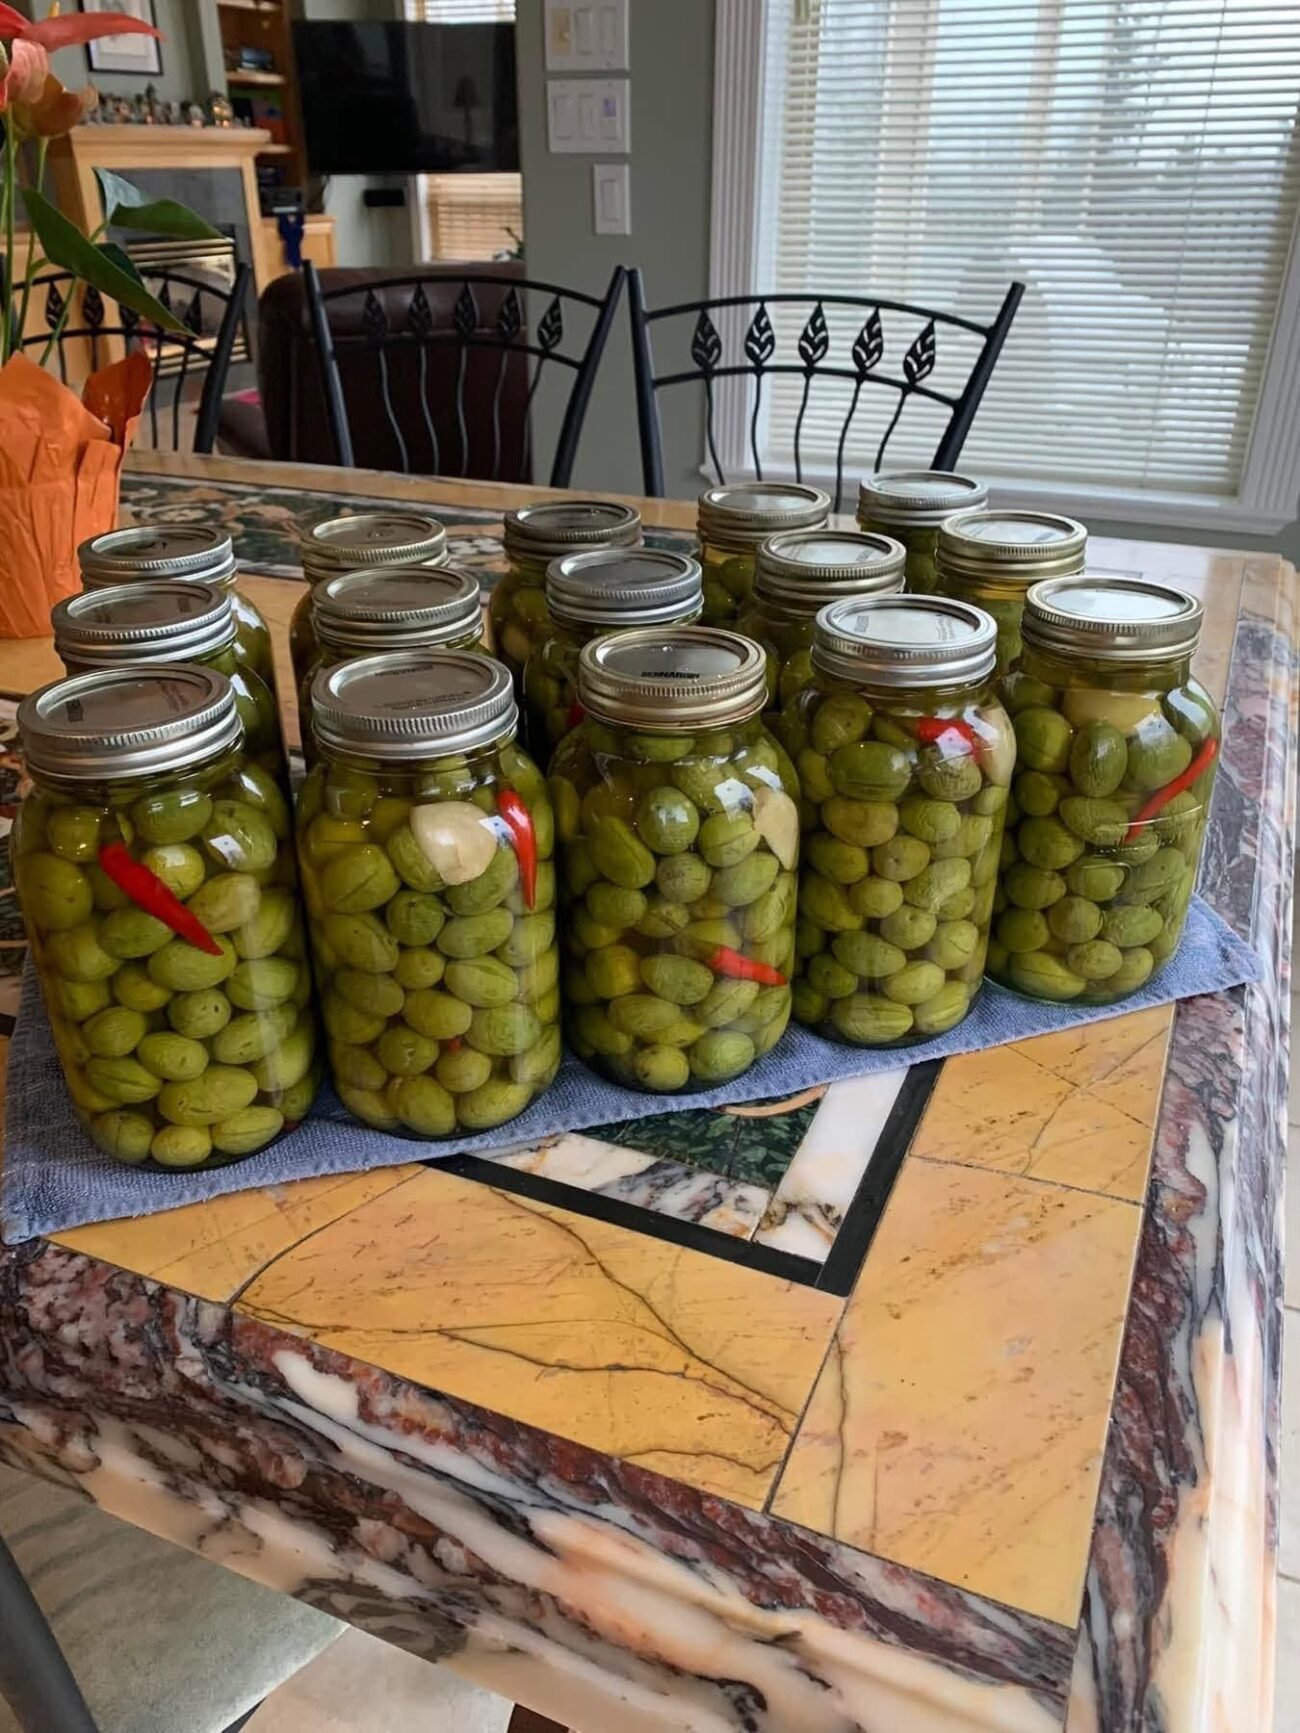
| Metric | Details |
| Active Prep Time | 30 minutes (total across all stages) |
| Passive Curing & Brining Time | 10 to 14 days (for raw olives) / 48 hours (for pre-cured olives) |
| Total Time | 10 to 14 days (from raw harvest) |
| Overall Effort Intensity | Low (5 minutes of daily maintenance) |
| Heat / Cooking Intensity | None to Low (cold brine curing; optional 3-minute gentle oil warming) |
| Flavor Intensity | Bold & Complex (briny, bright citrus, herbal, mildly spicy) |
| Yield | 2 quart jars (approximately 32 servings of 1/4 cup each) |
| Shelf Life | Up to 6 months refrigerated in brine and oil |
Ingredients
Phase 1: The Water Cure & Base Brine (For Raw Olives)
-
2 lbs (900 g) fresh, raw olives: Firm, unblemished green, black, or mixed varieties (such as Kalamata, Mission, Manzanilla, or Picholine).
-
4 quarts (3.8 liters) filtered, non-chlorinated water: Divided for daily soaking changes. Chlorine can interfere with natural fermentation and dull the flavor.
-
1/2 cup (140 g) coarse sea salt or pickling salt: Avoid iodized table salt, as iodine and anti-caking agents cloud the brine and impart a metallic aftertaste.
-
1/2 cup (120 ml) white wine vinegar or apple cider vinegar: Helps balance the pH and keep the olives crisp.
Phase 2: The Aromatic Finishing Marinade
-
1 cup (240 ml) high-quality extra-virgin olive oil: Cold-pressed, fruity olive oil forms the velvety base of the final preserve.
-
4 cloves fresh garlic: Lightly smashed with the flat of a knife to release oils without disintegrating into the jar.
-
3 sprigs fresh rosemary: Washed and thoroughly dried.
-
4 sprigs fresh thyme: Washed and thoroughly dried.
-
2 dried bay leaves: Whole, for deep earthy undertones.
-
1 organic lemon: Peel removed in wide strips using a vegetable peeler, avoiding the bitter white pith.
-
1 organic orange: Peel removed in wide strips, avoiding the white pith.
-
1 teaspoon whole black peppercorns: Lightly cracked.
-
1 teaspoon coriander seeds: Lightly toasted in a dry skillet for 60 seconds until fragrant.
-
1/2 teaspoon crushed red pepper flakes: Adjust up or down depending on your desired heat intensity.
Step-by-Step Instructions
Stage 1: Inspection & Slitting (Day 1 — Intensity: Moderate, 15 Minutes)
-
Sort the harvest: Rinse the raw olives under cool running water. Discard any fruit that is mushy, bruised, shriveled, or shows signs of insect punctures, as damaged olives will spoil the entire batch.
-
Slit the skin: Using a sharp paring knife, make one or two lengthwise slits down the side of each olive, cutting right down to the pit. Alternatively, gently crack each olive with the flat side of a meat mallet or heavy skillet until the skin splits. Slitting creates a pathway for water and salt to penetrate the flesh, cutting the curing time in half.
Stage 2: The Cold Water Leaching (Days 1 to 7 — Intensity: Very Low, 2 Minutes Daily)
-
Submerge the olives: Place the slit olives into a large glass, food-grade plastic, or ceramic bowl (never use reactive metal bowls like aluminum or copper). Cover them completely with cold filtered water.
-
Keep them submerged: Place a small clean plate or fermentation weight on top of the olives so none float above the waterline—exposure to air causes darkening and spoilage.
-
Change the water daily: Drain the soaking water completely every 24 hours and refill with fresh cold filtered water. You will notice the drained water is dark brown or tea-colored; this is the bitter oleuropein leaching out.
-
Taste test on Day 7: Bite into a small piece of an olive. It should still taste slightly tart and green, with only a faint trace of bitterness left. If it is still strongly bitter, continue daily water changes for another 2 to 3 days.
Stage 3: Salt Brining (Days 8 to 14 — Intensity: Low, 10 Minutes)
-
Prepare the brine: In a saucepan, combine 1 quart (950 ml) of filtered water with the 1/2 cup of coarse sea salt. Warm gently over medium heat, stirring until the salt dissolves completely. Remove from heat and let the brine cool to room temperature.
-
Pack the jars: Sterilize two clean 1-quart glass Mason jars with boiling water. Divide the leached olives evenly between the jars.
-
Add vinegar and brine: Pour 1/4 cup of white wine vinegar into each jar, then pour the cooled salt brine over the olives until they are completely submerged, leaving 1/2 inch of headspace at the top.
-
Cure in the refrigerator: Seal the jars with tight-fitting lids and refrigerate for 5 to 7 days. During this phase, the salt firms up the texture of the olive flesh and develops the classic savory tang. (Note: If starting with plain store-bought cured olives, skip Stages 1 through 3, rinse the olives well, and jump directly to Stage 4.)
Stage 4: Aromatic Oil Infusion & Finishing (Day 14 — Intensity: Low, 10 Minutes)
-
Drain the curing brine: Pour off about half of the salt brine from each jar, leaving just enough liquid to keep the bottom layer moist.
-
Layer the aromatics: Tuck the smashed garlic cloves, rosemary sprigs, thyme sprigs, bay leaves, lemon peel strips, orange peel strips, cracked black peppercorns, toasted coriander seeds, and crushed red pepper flakes down the sides and throughout the olives in both jars.
-
Top with olive oil: Pour the extra-virgin olive oil slowly into each jar until the olives and herbs are completely submerged beneath a protective seal of oil. Gently tap the jars on the counter to release trapped air bubbles.
-
Rest before serving: Refrigerate for at least 48 hours before serving so the citrus, garlic, and herbs fully infuse into the oil and olives.
Serving, Storage & Shelf Life
-
Serving Temperature: Always bring the jar to room temperature for 20 to 30 minutes before serving. Extra-virgin olive oil naturally solidifies and turns cloudy in the refrigerator; sitting on the counter restores its liquid golden sheen and unlocks the volatile herb aromas.
-
How to Serve: Spoon the olives along with plenty of the infused oil, citrus peels, and garlic cloves into a shallow bowl. Serve alongside crusty sourdough bread for dipping, aged Manchego or feta cheese, roasted red peppers, and cured meats.
-
Storage & Lasting Power: Keep the jars tightly sealed in the refrigerator. Because the combination of salt, vinegar, and a full layer of olive oil creates an anaerobic, acidic environment, homemade cured olives will stay crisp, safe, and flavorful for up to 6 months. Always use a clean spoon—never fingers—when scooping olives out of the jar to prevent introducing bacteria, and ensure the remaining olives stay submerged under the oil.
Nutritional Information
Olives are a cornerstone of the Mediterranean diet, prized for their high concentration of heart-healthy monounsaturated fats (primarily oleic acid), fat-soluble vitamin E, and antioxidant polyphenols.
Serving Size: 1/4 cup (approx. 35 g / 8 to 10 medium olives, drained of excess oil)
Servings Per Recipe: 32
| Nutrient | Amount Per Serving | % Daily Value* |
| Calories | 65 kcal | 3% |
| Total Fat | 6.5 g | 8% |
| — Saturated Fat | 0.9 g | 5% |
| — Monounsaturated Fat | 4.8 g | — |
| — Polyunsaturated Fat | 0.6 g | — |
| Cholesterol | 0 mg | 0% |
| Sodium | 340 mg | 15% |
| Total Carbohydrates | 1.8 g | 1% |
| — Dietary Fiber | 1.1 g | 4% |
| — Total Sugars | 0 g | — |
| Protein | 0.3 g | 1% |
| Vitamin E | 1.3 mg | 9% |
| Iron | 0.5 mg | 3% |
| Calcium | 18 mg | 1% |
