-
Prep Time: 15 minutes
-
First Proofing Time: 60 minutes
-
Second Proofing Time: 30 minutes
-
Bake Time: 25 minutes
-
Total Time: 2 hours 10 minutes
-
Yield: 1 small loaf (approx. 8–10 slices)
-
Difficulty & Intensity Level: Medium (Requires dough kneading and temperature management)
-
Equipment Needed: 4.5-quart or larger Air Fryer, 6×3-inch round baking pan (or air fryer-safe cake barrel), Parchment paper, Clean kitchen towel, Mixing bowl.
Ingredients
Dry Ingredients
-
300g (2 ½ cups) Bread flour (or unbleached all-purpose flour)
-
7g (1 packet / 2 ¼ tsp) Instant dry yeast
-
6g (1 tsp) Fine sea salt
-
15g (1 tbsp) Granulated sugar or honey
Wet Ingredients
-
180ml (¾ cup) Warm water (ideally between 105°F and 110°F / 40°C–43°C)
-
15g (1 tbsp) Unsalted butter, softened (plus extra for greasing)
-
15ml (1 tbsp) Olive oil or vegetable oil
Egg Wash (Optional, for extra shine)
-
1 large egg whisked with 1 tbsp water
Recipe Intensities & Timing Breakdown
To ensure your bread bakes evenly without burning on top, your air fryer will run at two distinct intensity levels: low heat for initial spring and high heat for crust setting and browning.
| Phase | Duration | Temperature Setting | Air Fryer Heat Intensity | Purpose |
| Proofing (Optional) | 25 min | 100°F (38°C) or OFF | Low / Residual Heat | Warm environment for dough rising |
| Bake Phase 1 | 15 min | 320°F (160°C) | Moderate Intensity | Cooks interior, prevents burning top |
| Bake Phase 2 | 10 min | 350°F (175°C) | High Intensity | Crisp, rich golden crust development |
| Cooling | 30 min | Room Temp | N/A | Sets internal moisture structure |
Step-by-Step Instructions
Step 1: Activate the Yeast & Mix the Dough
-
In a large bowl, combine warm water ($105^\circ\text{F} – 110^\circ\text{F}$), sugar, and instant yeast. Let it sit for 5 minutes until frothy.
-
Add the flour, salt, and softened butter to the bowl.
-
Stir with a wooden spoon or spatula until a shaggy dough comes together.
Step 2: Knead to Develop Gluten
-
Turn the dough out onto a lightly floured work surface.
-
Knead firmly for 8–10 minutes by pressing the heel of your hand down and forward, folding the dough back over itself, and repeating.
-
The dough is ready when it is smooth, elastic, and passes the “windowpane test” (stretching a small piece thin enough to see light through without tearing).
Step 3: First Rise (Proofing)
-
Lightly grease a clean bowl with 1 tablespoon of oil. Place the dough inside and turn to coat.
-
Cover the bowl with a damp kitchen towel or plastic wrap.
-
Place in a warm spot for 60 minutes, or until doubled in volume.(Tip: You can warm your air fryer basket at 100°F for 2 minutes, turn it OFF, and place the covered bowl inside the closed chamber for a cozy proofing box).
Step 4: Shape the Loaf
-
Punch down the risen dough gently to release built-up gas.
-
Transfer to a clean counter and shape it into a tight round ball by pulling the sides down and tucking them under the bottom.
-
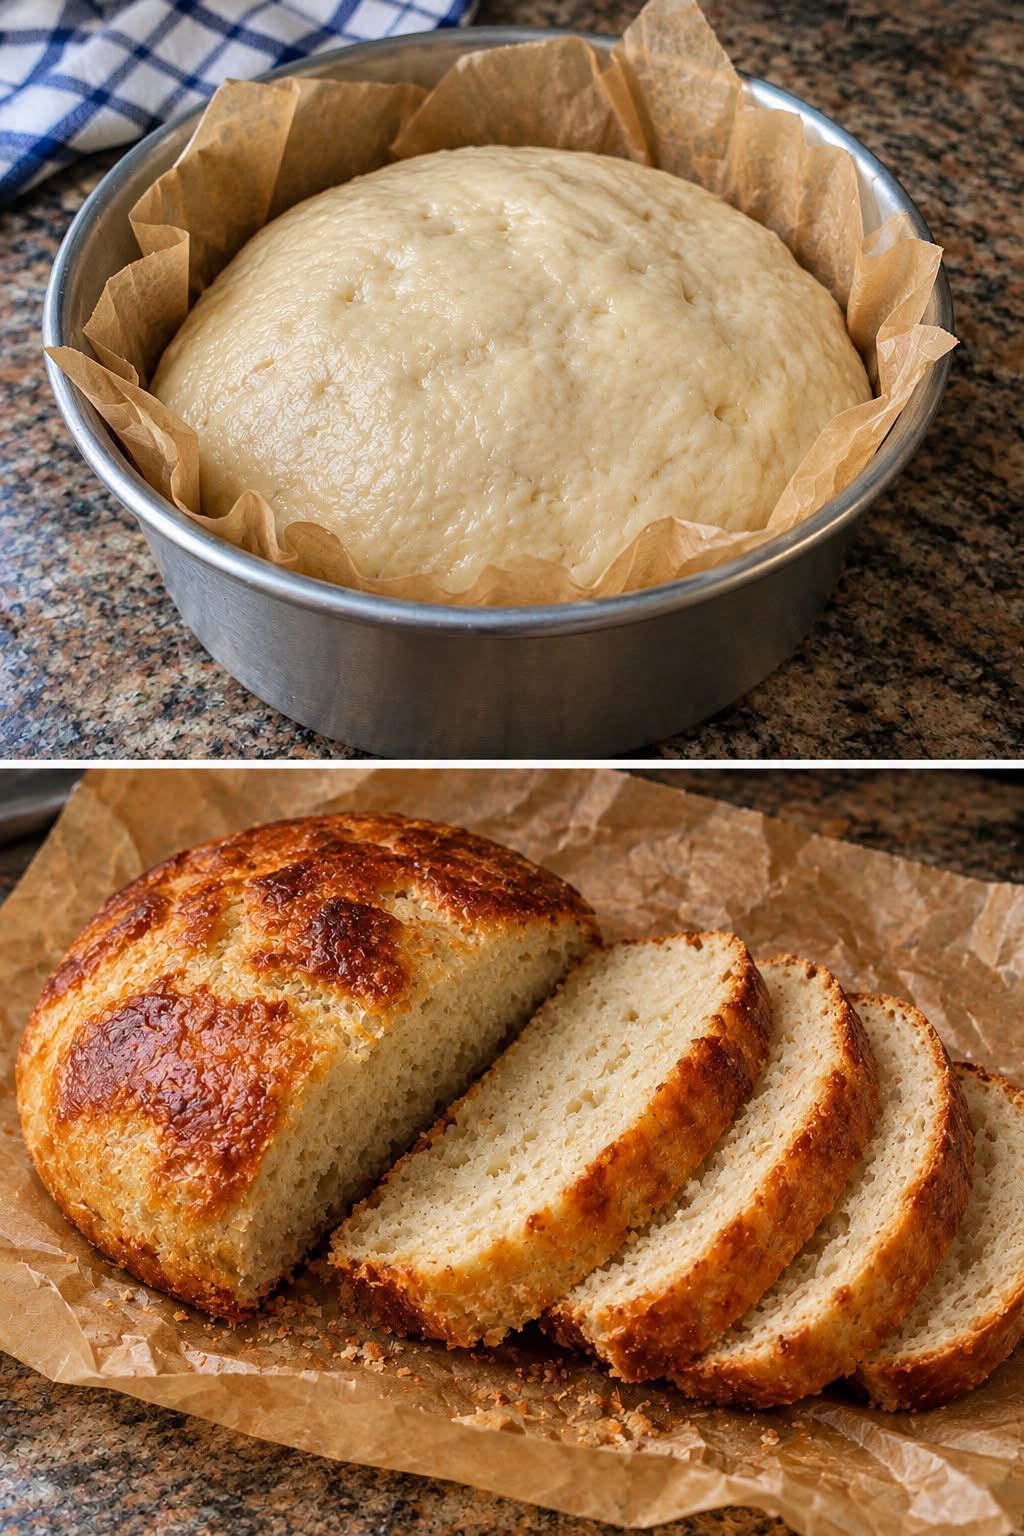
Line your 6-inch round baking pan with parchment paper and lightly grease the sides with butter. Place the shaped dough into the center of the pan.
Step 5: Second Rise
-
Cover the pan loosely with a cloth and let it rise for 30 minutes until it expands to fill the pan and rounded top crowns over the rim.
Step 6: Air Fryer Baking Procedure
-
Preheat your air fryer to 320°F (160°C) for 3 minutes.
-
Optionally brush the top of the dough with egg wash for a glossy surface.
-
Place the baking pan inside the air fryer basket carefully.
-
Bake Phase 1: Set to 320°F (160°C) for 15 minutes (Moderate Intensity).
-
Open the basket. If the top is already deep brown, loose-tent a piece of aluminum foil over the top of the pan to prevent over-browning.
-
Bake Phase 2: Increase temperature to 350°F (175°C) for 10 minutes (High Intensity) until the internal temperature reaches 190°F–200°F (88°C–93°C) or it sounds hollow when tapped.
Final Phase of the Recipe: Cooling & Storage
-
Immediate Removal: Once baking completes, use oven mitts to carefully remove the pan from the air fryer basket.
-
Depanning: Immediately invert the pan to release the loaf onto a wire cooling rack. Remove the parchment paper.
-
Resting Phase: Allow the bread to cool completely at room temperature for at least 30 to 45 minutes before slicing.(Crucial Step: Slicing warm bread causes trapped steam to escape rapidly, leaving the remaining crumb gummy).
-
Storage: Keep stored in a paper bag or bread box at room temperature for up to 3 days. For longer storage, slice and freeze for up to 1 month.
Comprehensive Nutritional Information
Nutritional facts per slice based on a 10-slice loaf.
| Nutrient | Amount per Slice | % Daily Value (DV)* |
| Calories | 135 kcal | — |
| Total Fat | 2.5 g | 3% |
| Saturated Fat | 1.0 g | 5% |
| Trans Fat | 0.0 g | — |
| Cholesterol | 5 mg | 2% |
| Sodium | 235 mg | 10% |
| Total Carbohydrates | 23 g | 8% |
| Dietary Fiber | 1.2 g | 4% |
| Total Sugars | 1.5 g | — |
| Protein | 4.2 g | 8% |
| Calcium | 12 mg | 1% |
| Iron | 1.4 mg | 8% |
| Potassium | 45 mg | 1% |
