| Key Metric | Details |
| Prep Time | 10 minutes |
| Cook Time (Oven) | 1 hour 45 minutes |
| Cooling & Setting Time | 2 hours |
| Total Time | 2 hours 55 minutes |
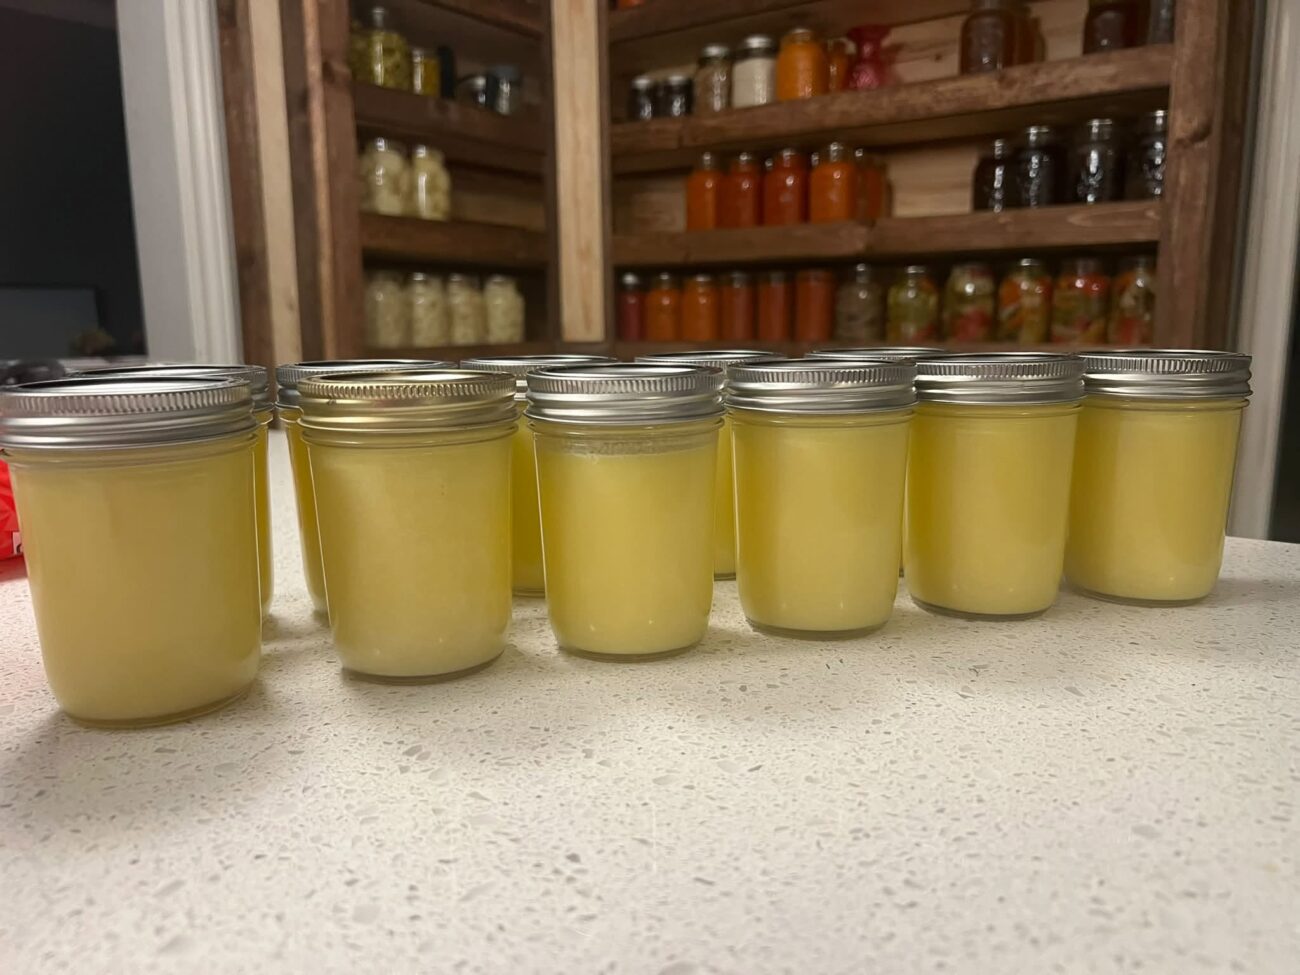
| Yield | Approx. 4 pint (16 oz) jars (64 total servings) |
| Difficulty Level | Low to Medium |
| Primary Method | Low-Temperature Oven Clarification & Hot-Jar Sealing |
Equipment & Tools
-
Large Dutch Oven or Heavy Oven-Safe Pot (Cast iron or heavy enamel preferred)
-
4 Pint-Sized (16 oz) Mason Jars with fresh lids and bands
-
Fine-Mesh Strainer
-
Unbleached Cheesecloth or high-grade nut milk bag
-
Heat-Proof Canning Funnel
-
Ladle
-
Kitchen Towels
Ingredients
-
5 lbs (2.25 kg) High-Quality Butter (Unsalted preferred for neutral storage; salted works if you prefer a savory finish)
Time & Thermal Intensity Guide
Achieving the right texture and preserving delicate flavors depends heavily on controlling heat stages throughout the process.
| Phase | Heat Level / Intensity | Target Temp | Time Duration | Visual & Culinary Cue |
| 1. Melt & Liquefy | Low Heat (Oven) | 200°F (93°C) | 25–30 minutes | Butter is fully liquid; gentle foaming begins on the surface. |
| 2. Evaporation & Separation | Low-Medium Heat (Oven) | 225°F (107°C) | 60 minutes | Foaming peaks, water bubbles out, and milk solids settle to the bottom. |
| 3. Final Browning (Ghee Stage) | Low Heat (Oven) | 230°F (110°C) | 15–20 minutes | Liquid clears to amber; bottom solids turn lightly golden brown with a nutty aroma. |
| 4. Jar Sterilization & Warm-Up | Low Heat (Oven) | 200°F (93°C) | 20 minutes | Jars are warm to prevent thermal shock when pouring hot melted fat. |
| 5. Natural Vacuum Cooling | Ambient / Room Temp | 70°F (21°C) | 12–24 hours | Liquid solidifies into a silky, opaque golden yellow paste; lids click sealed. |
Step-by-Step Instructions
Step 1: Sterilize & Warm Your Jars
-
Pre-heat your oven to 200°F (93°C).
-
Wash your Mason jars, lids, and rings thoroughly in warm, soapy water and rinse clean.
-
Place the clean jars onto a baking sheet and set them in the oven for 20 minutes to dry completely and warm up. Keeping the glass warm prevents cracking when hot butter is poured into them later.
Step 2: Load the Butter
-
Cut the 5 lbs of butter sticks into smaller quarters or 1-inch cubes for even melting.
-
Place all the butter into a large, heavy-bottomed Dutch oven or deep roasting pan.
Step 3: Oven Render & Clarify
-
Increase the oven temperature to 225°F (107°C) and place the pot uncovered on the center rack.
-
Allow the butter to render undisturbed for 60 minutes. During this time, the water content will gently boil off while the milk solids separate—floating to the top as a white foam and sinking to the bottom as sediment.
-
After 60 minutes, check the pot. If you desire a rich, nutty flavor (traditional ghee), leave the pot in the oven for an additional 15 to 20 minutes at 230°F (110°C) until the bottom solids turn light golden brown.
Step 4: Skim & Strain
-
Carefully remove the pot from the oven using heavy oven mitts and set it on a heat-proof surface.
-
Using a wide spoon or skimmer, gently skim off the top layer of crusty white foam.
-
Line your fine-mesh strainer with 4 layers of cheesecloth and place it over a large heat-safe measuring cup or bowl.
-
Slowly pour the hot golden liquid through the strainer. The cheesecloth catches any remaining floating bits and leaves all browned sediment behind in the pot.
Step 5: Fill & Seal the Jars
-
Remove the warm Mason jars from the oven.
-
Place a canning funnel into the first jar and ladle the hot, clear butter liquid into the jar, leaving a 1/2-inch headspace at the top.
-
Wipe the glass rims perfectly clean with a dry paper towel (any oil on the rim will prevent proper sealing).
-
Place a warm lid on the jar, screw the band on until fingertip tight, and repeat for all remaining jars.
Step 6: Cool & Store
-
Set the sealed jars onto a wooden board or towel-lined counter, spaced 2 inches apart, away from drafty windows.
-
Allow them to cool completely at room temperature overnight. As the jars cool and the fat contracts, you will hear a distinct “pop” sound as the vacuum seal locks in place.
-
Give each jar a quick, gentle shake once or twice as it cools to keep the texture uniform and smooth.
Storage & Shelf Life
-
Unopened (Sealed Jars): Store in a cool, dark pantry or cupboard for up to 12 to 18 months.
-
Opened Jars: Keep in your kitchen pantry for up to 3 to 6 months, or store in the refrigerator for up to 1 year. Always use a clean, dry spoon to avoid introducing moisture or bacteria.
-
Culinary Use: Clarified butter has an exceptionally high smoke point (485°F / 250°C compared to regular butter’s 350°F / 175°C), making it ideal for high-heat searing, roasting vegetables, sauteing seafood, and popping popcorn without burning.
Nutritional Information & Analysis
Because all water and dairy proteins (lactose and casein) are separated out during the clarification process, oven-canned butter yields virtually pure milk fat.
-
Serving Size: 1 Tablespoon (approx. 14g / 0.5 oz)
-
Total Servings per Batch: Approx. 64 tablespoons
Nutrition Per Serving (1 Tbsp / 14g)
| Nutrient | Amount Per Serving | % Daily Value (DV)* |
| Calories | 120 kcal | — |
| Total Fat | 14 g | 18% |
| Saturated Fat | 9 g | 45% |
| Trans Fat | 0.5 g | — |
| Polyunsaturated Fat | 0.5 g | — |
| Monounsaturated Fat | 3.5 g | — |
| Cholesterol | 35 mg | 12% |
| Sodium | 0 mg (Unsalted) | 0% |
| Total Carbohydrates | 0 g | 0% |
| Dietary Fiber | 0 g | 0% |
| Total Sugars (Lactose) | 0 g | 0% |
| Protein | 0 g | 0% |
| Vitamin A | 125 mcg (400 IU) | 14% |
| Vitamin E | 0.4 mg | 3% |
| Vitamin K | 1.1 mcg | 1% |
