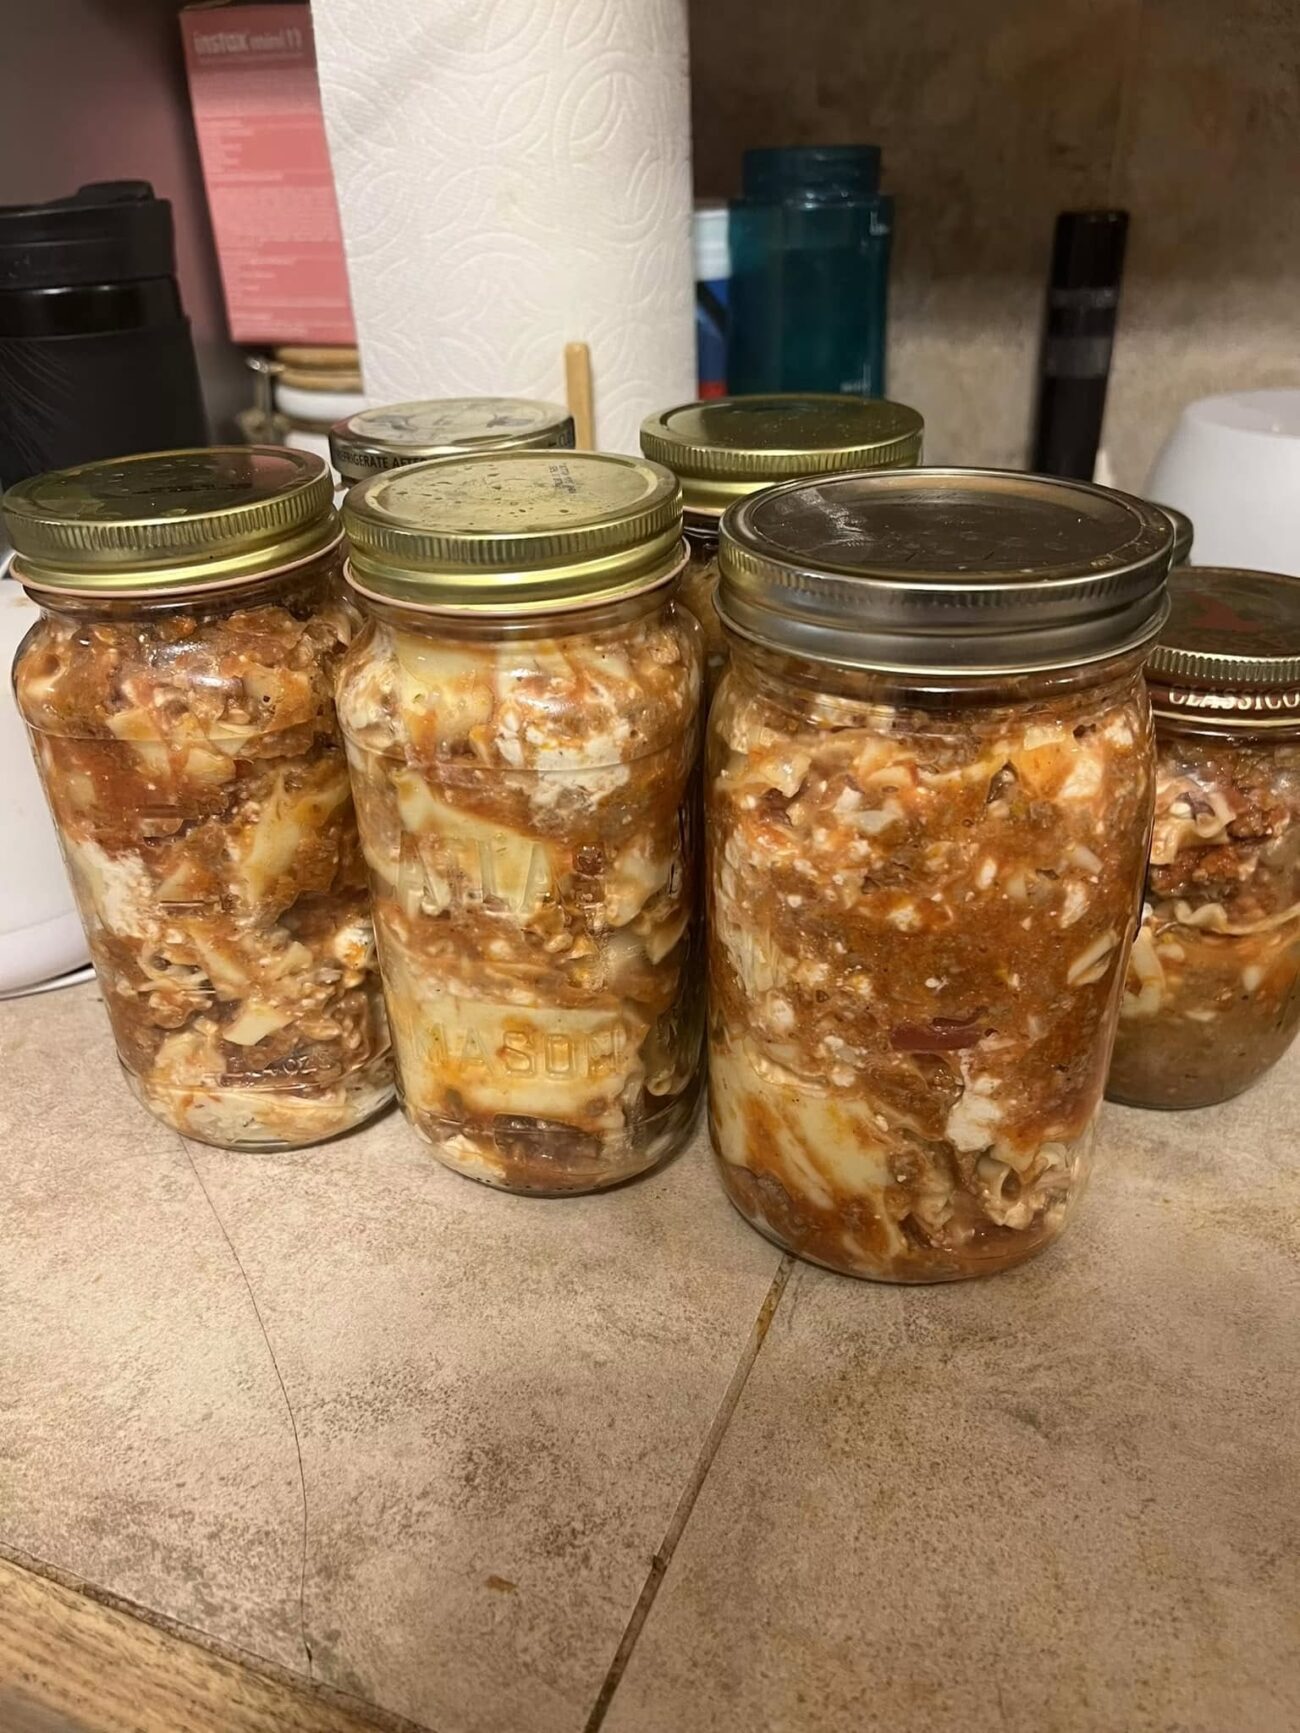
-
Prep Time: 45 minutes
-
Cook/Simmer Time: 1 hour 15 minutes
-
Canning Time: 75 minutes (Pints) or 90 minutes (Quarts) at $11\text{ PSI}$ (adjust for altitude)
-
Cooling & Venting Time: 45 minutes
-
Total Time: ~3 hours 45 minutes
-
Yield: 6 Pint Jars (6 Servings) or 3 Quart Jars (6 Large Servings)
Ingredients List
Rich Tomato & Meat Ragù (The Canning Base)
-
Lean Ground Beef or Italian Sausage: 2 lbs ($900\text{ g}$), 85% lean or higher (excess fat must be drained to ensure proper jar seals)
-
Crushed Tomatoes: 2 cans ($28\text{ oz}$ / $800\text{ g}$ each)
-
Tomato Paste: 1 can ($6\text{ oz}$ / $170\text{ g}$)
-
Yellow Onion: 1 large, finely diced
-
Garlic: 5 cloves, minced
-
Bottled Lemon Juice or Citric Acid: 1 tbsp bottled lemon juice per pint jar (or $\frac{1}{4}$ tsp citric acid per pint jar) to guarantee safe acidity thresholds
-
Italian Seasoning: 2 tbsp (dried basil, oregano, rosemary, thyme)
-
Sea Salt: 1.5 tsp (non-iodized canning salt preferred)
-
Black Pepper: 1 tsp freshly cracked
-
Beef Broth or Water: 1 cup ($240\text{ ml}$) to adjust sauce consistency
Pasta & Layering Component
-
Wavy Lasagna Noodles: 1 box ($16\text{ oz}$ / $450\text{ g}$) — sturdy wheat noodles work best.
-
Low-Moisture Mozzarella Cheese: 1.5 cups, shredded (finely distributed)
-
Grated Parmesan Cheese: $\frac{1}{2}$ cup, finely grated
Step-by-Step Canning Instructions
Step 1: Prep and Sanitize
-
Wash 6 pint jars, band rings, and brand-new flat lids in warm, soapy water.
-
Keep the washed jars warm in a water bath or inside your pressure canner filled with 2 to 3 inches of simmering water ($180^\circ\text{F}$). Do not boil the lids; leave them in hot water to soften the sealing compound.
Step 2: Prepare the Meat Ragù
-
In a large heavy-bottomed stockpot, brown the ground beef or Italian sausage over medium-high heat until fully cooked.
-
Drain off as much rendered grease and oil as possible. Excess grease can creep under the jar rims during processing and prevent the lids from vacuum sealing.
-
Return the meat to the pot and add the diced onion and minced garlic. Sauté for 4–5 minutes until softened.
-
Stir in the crushed tomatoes, tomato paste, Italian seasoning, sea salt, black pepper, and beef broth.
-
Bring to a gentle boil, then lower heat to a simmer. Cover and let the sauce develop for 30 minutes. The sauce should be slightly thin, as the dry pasta will absorb liquid inside the jar during pressure processing.
Step 3: Par-Cook the Noodles
-
Bring a large pot of salted water to a rolling boil.
-
Cook the lasagna noodles for only 4–5 minutes (about half the recommended package time). The noodles should be pliable enough to roll or fold, but still firmly undercooked (extra al dente).
-
Drain and rinse thoroughly under cold running water to stop the cooking process and eliminate excess starch. Slice the noodles into lengths or squares that easily fit flat inside your canning jars.
Step 4: Layering the Jars (Hot Pack Method)
-
Add the bottled lemon juice or citric acid directly to the bottom of each warm jar (1 tbsp per pint jar).
-
Spoon a generous layer ($\frac{1}{3}$ cup) of piping-hot meat sauce into the bottom of each jar.
-
Add a folded piece of par-cooked lasagna noodle.
-
Sprinkle a light pinch of shredded mozzarella and parmesan cheese over the noodle.
-
Repeat the layers—sauce, noodle, cheese—leaving 1 inch ($2.5\text{ cm}$) of head space at the top of each jar. Head space is critical to prevent siphon-over during high-pressure processing.
-
Ladle extra hot sauce or hot broth into any remaining gaps to ensure all noodles are fully submerged.
Step 5: Seal and Process
-
Run a bubble remover tool or non-metallic spatula down the inside edges of each jar to release trapped air bubbles. Re-check your 1-inch head space and add a splash of warm broth if needed.
-
Wipe the rim of each jar with a clean paper towel dampened with white vinegar to remove any oil, sauce, or cheese residue.
-
Place a flat lid on each jar and screw the band down until fingertip-tight (do not overtighten).
-
Place the filled jars onto the rack inside your pressure canner containing 2–3 inches of hot water.
-
Lock the canner lid in place. Turn the burner to high and allow steam to vent continuously from the petcock for 10 minutes before applying the weighted gauge or regulator.
-
Process pints for 75 minutes (or quarts for 90 minutes) at $11\text{ PSI}$ (adjusting for elevations over 1,000 feet above sea level).
Step 6: Cool and Inspect
-
When the processing time is complete, turn off the heat and let the canner cool down naturally until the pressure drops completely to 0 PSI on its own. Never force-cool a pressure canner.
-
Carefully unlock the lid, tilting it away from your face to avoid steam burns.
-
Using a jar lifter, remove the jars and place them on a towel-lined countertop spaced 1–2 inches apart. Let them sit undisturbed for 12 to 24 hours.
-
Listen for the satisfying “ping” indicating a solid vacuum seal. Test each jar after 12 hours by pressing down on the center of the lid—if it pops up, it did not seal and must be refrigerated and consumed immediately.
Nutritional Information
Servings per Pint Jar: 1 | Serving Size: 1 Pint Jar (~400g)
| Nutrient | Amount per Serving | % Daily Value* |
| Calories | 480 kcal | — |
| Total Fat | 18 g | 23% |
| Saturated Fat | 7 g | 35% |
| Trans Fat | 0.5 g | — |
| Cholesterol | 65 mg | 22% |
| Sodium | 890 mg | 39% |
| Total Carbohydrates | 48 g | 17% |
| Dietary Fiber | 5 g | 18% |
| Total Sugars | 8 g | — |
| Protein | 32 g | 64% |
| Vitamin D | 0.4 mcg | 2% |
| Calcium | 220 mg | 17% |
| Iron | 4.2 mg | 23% |
| Potassium | 680 mg | 14% |
