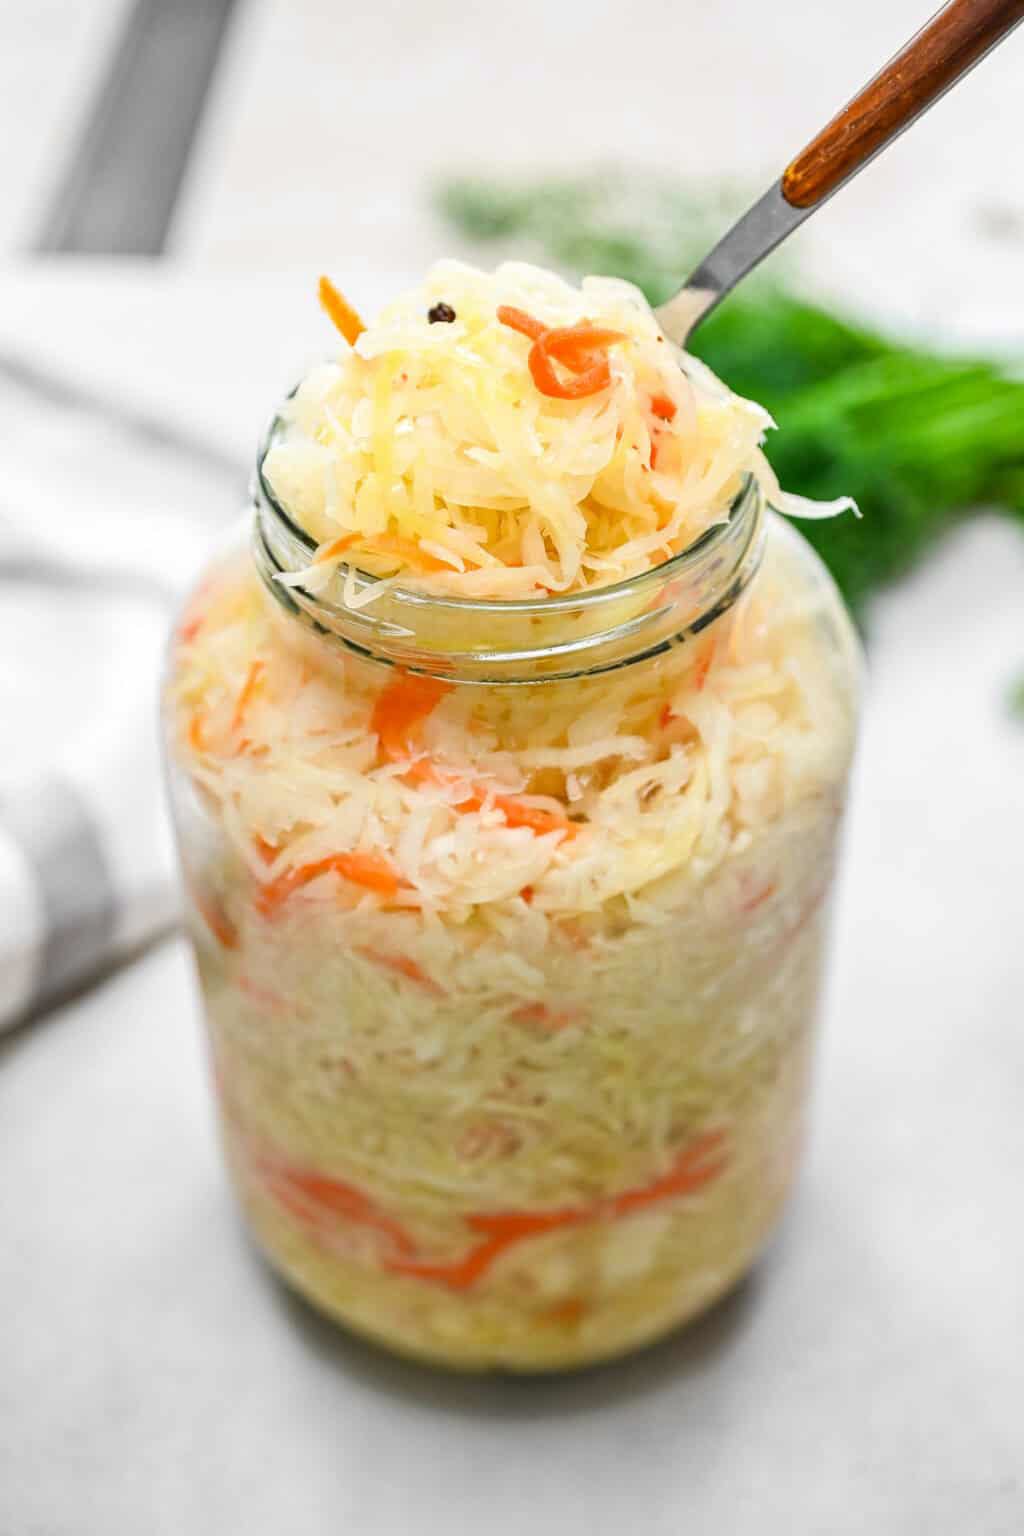
-
Prep Time: 25–30 minutes
-
Massage & Packing Time: 15 minutes
-
Active Working Time: 40–45 minutes total
-
Fermentation Time: 7 to 21 days (depending on ambient room temperature and desired tartness)
-
Skill Level & Intensity: Low technical difficulty / Moderate physical effort (massaging cabbage)
-
Yield: 1 Quart (32 oz / approximately 16 servings of 2 tbsp each)
-
Shelf Life / Lasting Duration: 6 months to 1 year when stored sealed in the refrigerator
Ingredients & Equipment
Ingredients
-
1 Medium Green Cabbage: approx. 2 to 2.5 lbs (900g to 1.1kg), dense and firm with clean outer leaves
-
1.5 tablespoons (20g) Fine Sea Salt: or non-iodized Kosher salt (Avoid table salt containing anti-caking agents or iodine, which inhibit beneficial bacteria)
-
Optional Aromatics (Pick 1 or 2):
-
1 teaspoon Caraway seeds (classic Bavarian style)
-
1 teaspoon Mustard seeds
-
2 cloves Garlic, finely slivered
-
1 small Juniper berry, lightly crushed
-
1/2 medium Shredded Carrot (for natural sweetness and color)
-
Essential Equipment
-
1 Quart (32 oz) Wide-Mouth Glass Mason Jar
-
Fermentation Weight: Glass fermenting weight or a small food-safe glass jar that fits inside the rim
-
Large Mixing Bowl: Glass, stainless steel, or ceramic
-
Chef’s Knife & Cutting Board
-
Breathable Cover: Clean cheesecloth, coffee filter, or jar lid loosened slightly
Salt-to-Cabbage Ratio Guide
For safe fermentation and optimal crunch, target a 2% salt ratio by weight.
| Cabbage Weight | Recommended Salt Amount |
| 500g (1.1 lbs) | 10g (~1.5 teaspoons) |
| 1000g (2.2 lbs) | 20g (~1 tablespoon + 1 teaspoon) |
| 1500g (3.3 lbs) | 30g (~2 tablespoons) |
Step-by-Step Instructions
Step 1: Prep and Cleanliness
-
Wash your hands thoroughly, along with your cutting board, knife, bowl, and mason jar. Sterility is not required, but strict cleanliness ensures beneficial bacteria thrive without mold competition.
-
Peel off 2 outer leaves from the cabbage before cutting. Set these clean, whole outer leaves aside for later.
Step 2: Slice the Cabbage
-
Quarter the cabbage and cut away the tough inner core from each section.
-
Shred the cabbage into thin, uniform ribbons (roughly 1/16 to 1/8 inch thick). Uniform thickness ensures even brine extraction and uniform crunch throughout the batch.
Step 3: Salt and Massage (High-Intensity Phase)
-
Place all shredded cabbage into your large mixing bowl. Sprinkle the sea salt evenly over the top.
-
Let the salted cabbage sit undisturbed for 10 minutes to allow osmosis to start pulling out liquid.
-
Using clean hands, vigorously massage, squeeze, and knead the cabbage ribbons for 5 to 10 minutes.
-
As cell walls break down, the cabbage will soften, shrink by half its original volume, and release a substantial pool of natural brine.
Step 4: Add Aromatics
-
Fold in your choice of caraway seeds, garlic, or carrots if using. Mix thoroughly to distribute spices evenly.
Step 5: Pack the Fermentation Jar
-
Transfer small handfuls of cabbage into the wide-mouth mason jar, pressing down firmly with your knuckles or a wooden tamper after each layer. Packing tightly eliminates air pockets where unwanted mold can grow.
-
Pour all excess liquid from the mixing bowl into the jar. The liquid level must completely submerge the shredded cabbage.
-
Take one of the reserved outer leaves from Step 1, trim it to match the jar diameter, and tuck it on top of the shredded cabbage to act as a follower leaf.
-
Place your glass fermentation weight directly on top of the follower leaf to keep all plant material 1 to 2 inches below the surface of the brine.
Step 6: Seal and Ferment
-
Screw on the mason jar lid loosely so carbon dioxide gas generated by fermentation can escape safely (“burping”). Alternatively, use an airlock fermentation lid.
-
Store the jar in a cool, dark location away from direct sunlight (ideally between 65°F and 72°F / 18°C to 22°C).
Fermentation Timeline & What to Expect
[Day 1–3: Active Phase] ---> [Day 4–10: Acidification] ---> [Day 11–21: Flavor Peak]
(Bubbling & Cloudiness)       (Sour aroma develops)        (Crisp, tangy & ready)
-
Days 1–3 (Initial Activation): You will notice small carbon dioxide bubbles rising, clouding of the liquid, and a fresh vegetable smell.
-
Days 4–10 (Primary Acidification): The brine turns tangy. Tap the jar gently daily to release trapped air bubbles. If brine overflows due to active bubbling, top off with a 2% saltwater solution (1 tsp salt per 1 cup water).
-
Days 11–21 (Flavor Development): Taste test using a clean fork starting around Day 7. Stop fermentation whenever it reaches your preferred level of crisp sourness.
How Long Sauerkraut Lasts & Storage Rules
Once the flavor profile reaches your desired level of sourness:
-
Remove the fermentation weight and follower leaf.
-
Seal the jar tightly with a clean lid.
-
Move the jar to the refrigerator.
-
Cold Refrigeration (35°F–38°F / 1°C–3°C): Lasts 6 to 12 months. Cold temperatures slow microbial activity to a crawl while maintaining crispness and live probiotic viability.
-
Always check before eating: Kraut should smell pleasantly sour and fresh. Discard immediately if you detect a slime texture, pink discoloration, or fuzzy surface mold.
Nutritional Information
Serving Size: 2 Tablespoons (30g)
| Nutrient | Amount per Serving | % Daily Value |
| Calories | 6 kcal | — |
| Total Fat | 0 g | 0% |
| Sodium | 200 mg | 8.5% |
| Total Carbohydrates | 1.3 g | 0.5% |
| Dietary Fiber | 0.9 g | 3.5% |
| Sugars | 0.5 g | — |
| Protein | 0.3 g | 0.5% |
| Vitamin C | 4.4 mg | 7% |
| Vitamin K1 | 3.9 mcg | 3% |
| Live Cultures | ~1 Billion CFU Lactobacillus | — |
